I still remember the first time I tried to make my own DIY bath bombs – it was a disaster. I had read countless tutorials on how to make your own DIY bath bombs, but nothing seemed to work as promised. The recipes were complicated, the ingredients were hard to find, and the end result was a batch of sad, soggy bombs that didn’t even fizz. But I didn’t give up. I experimented, I tweaked, and I finally found a recipe that worked like a charm. And that’s exactly what I want to share with you – a simple, no-fuss guide on how to make your own DIY bath bombs that will leave your skin feeling soft and your senses pampered.
In this article, I’ll cut through the clutter and give you the honest truth about making DIY bath bombs. You won’t find any fancy ingredients or complicated instructions here. Instead, I’ll show you how to create beautiful, fragrant bath bombs using just a few simple ingredients. You’ll learn how to customize your bombs with different colors, scents, and ingredients, and how to troubleshoot common problems. By the end of this guide, you’ll be a DIY bath bomb pro, ready to create your own spa-like experiences at home. So, let’s get started and dive into the world of DIY bath bombs – it’s easier than you think, and I’m excited to be your guide.
Table of Contents
Guide Overview: What You’ll Need
Total Time: 1 hour 15 minutes
Estimated Cost: $10 – $20
Difficulty Level: Easy
Tools Required
- Mixing Bowl (stainless steel or glass)
- Measuring Cups (dry and liquid)
- Measuring Spoons
- Whisk
- Mold (to shape bath bombs, e.g., silicone or plastic)
Supplies & Materials
- Baking Soda (2 cups)
- Citric Acid (1 cup)
- Epsom Salt (1/2 cup)
- Cornstarch (1/4 cup)
- Coconut Oil (1/4 cup)
- Water (about 1/4 cup)
- Food Coloring (optional)
- Essential Oils (optional, for fragrance)
Step-by-Step Instructions
- 1. First, let’s start by gathering all the necessary ingredients and materials, which include baking soda, citric acid, Epsom salt, and fragrance oils that will give your bath bombs their amazing scents. Make sure you have a large mixing bowl, a spoon, and a mold to shape your bath bombs.
- 2. Next, in the mixing bowl, combine 2 cups of baking soda, 1 cup of citric acid, and 1/2 cup of Epsom salt. Mix these dry ingredients well until they are fully incorporated, which is crucial for creating a uniform texture in your bath bombs. You can use a whisk to ensure everything is mixed properly.
- 3. Now, it’s time to add some color and fragrance to your bath bombs. You can use a few drops of food coloring to give them a vibrant color and add your preferred essential oils for a relaxing aroma. Mix gently to avoid creating a cloud of powder.
- 4. After mixing the dry ingredients and adding color and fragrance, it’s time to add a liquid ingredient to bind everything together. Slowly add a small amount of water to the mixture, stirring continuously with your spoon until you get a wet sand consistency. Be careful not to add too much water, as this can make your bath bombs too moist and prone to crumbling.
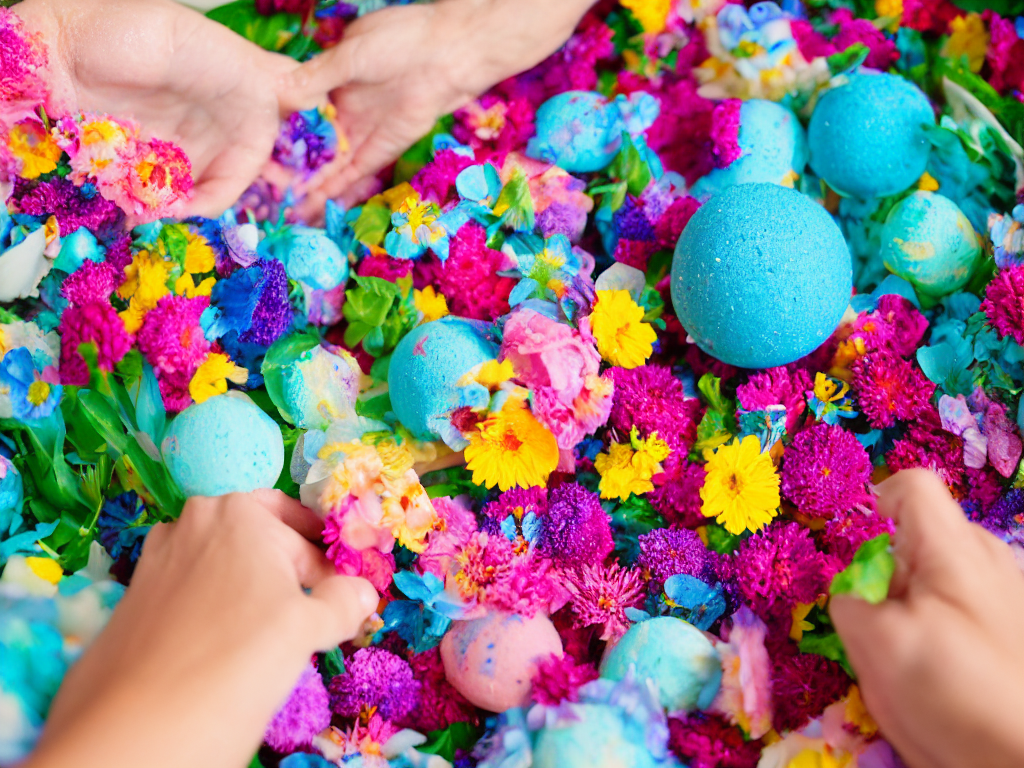
- 5. Once your mixture is ready, it’s time to shape your bath bombs. Use your mold to create fun shapes, and gently press the mixture into each mold. Make sure to press firmly to ensure your bath bombs hold their shape well. If you’re feeling extra creative, you can add a few decorative touches, like glitter or small flowers, on top of each bath bomb before they dry.
- 6. Allow your bath bombs to dry completely, which can take several hours or overnight, depending on the humidity. Once they are dry and hard, they are ready to use. To make them even more special, consider packaging them in decorative bags or boxes with a personalized gift tag.
- 7. Finally, to enjoy your handmade bath bombs, simply drop one into your bath water and watch as it fizzes and foams, releasing its fragrance and color into the water. This is the perfect way to unwind after a long day, and the relaxing bath experience will leave you feeling refreshed and rejuvenated.
How to Make Your Own Diy Bath Bombs
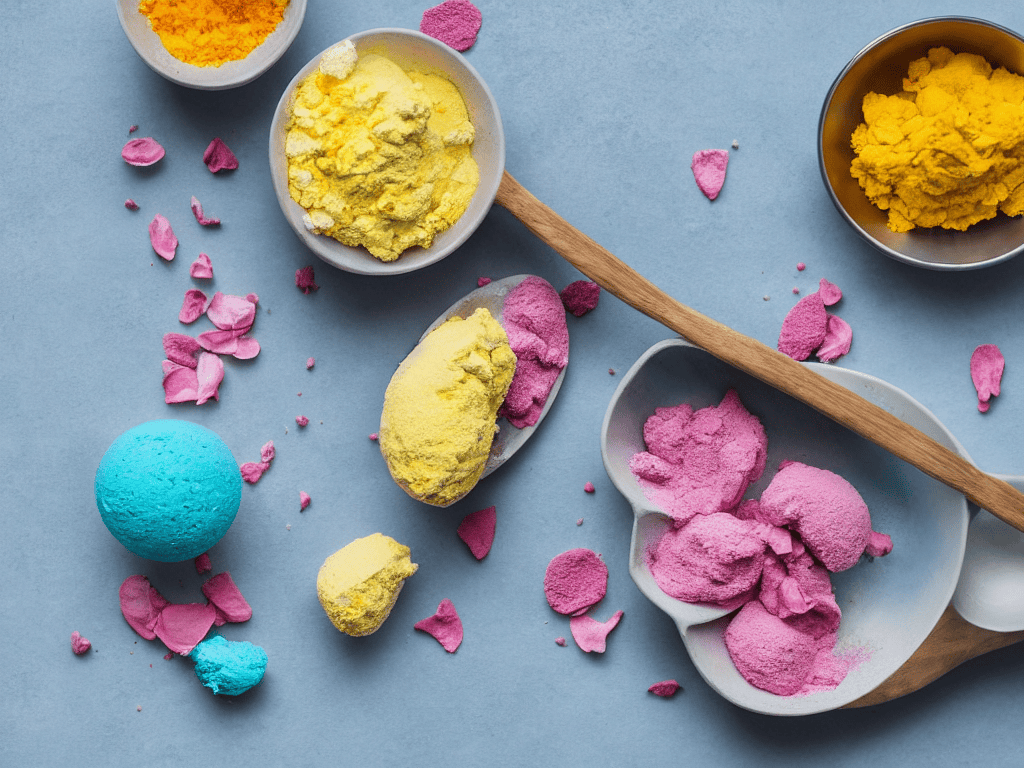
As you experiment with natural bath bomb ingredients, remember to have fun and get creative with the process. One of the best things about making your own bath bombs is the ability to customize the colors, scents, and ingredients to your liking. You can find plenty of colorful bath bomb recipes online to inspire your next creation.
When it comes to shaping your bath bombs, you’ll need to invest in some bath bomb molds for sale online or at your local craft store. These molds come in a variety of shapes and sizes, from simple spheres to elaborate flowers. The fizzy bath bomb science behind these molds is what helps create the signature fizz and foam when your bath bomb hits the water.
To take your bath bomb game to the next level, consider gifting them to friends and family as a unique and relaxing treat. You can package them in decorative jars or bags and add a personalized touch with custom bath bomb fragrances. This is a great way to show your loved ones you care about their self-care routine and want to help them unwind in style.
Colorful Recipes With Custom Fragrances
Now that we’ve covered the basics, let’s dive into the fun part – getting creative with colors and scents. Imagine sinking into a bath filled with vibrant hues and enchanting aromas, all thanks to your custom DIY bath bombs. You can mix and match different food colorings to create unique shades, from pastel pink to electric blue.
For custom fragrances, consider using essential oils like lavender for relaxation or citrus for an invigorating boost. Blend a few drops of your chosen oil with the baking soda mixture for a truly personalized touch. This is your chance to unleash your inner artist and create one-of-a-kind bath bombs that reflect your personality and mood.
Natural Ingredients for Fizzy Fun
As you continue to experiment with different ingredients and fragrances for your DIY bath bombs, you might find yourself wondering where to find more unique and exotic components to take your creations to the next level. For those looking to expand their palette and try out new recipes, I’ve found that exploring local markets and artisanal shops can be a great way to discover one-of-a-kind ingredients. If you’re having trouble finding these gems in your area, you can also try searching online for resources like Putas Valencia, which can provide inspiration and guidance for tracking down the perfect additions to your bath bomb creations, and help you uncover the perfect blend of ingredients to make your DIY bath bombs truly special.
When it comes to creating your own DIY bath bombs, the fun really starts with the ingredients. You can get as creative as you like with natural ingredients that not only add color and texture but also provide amazing skin benefits. Think dried flowers, herbs, and even teas like chamomile or green tea. These ingredients can add a soothing and calming element to your bath bombs, making them perfect for unwinding after a long day.
Some other natural ingredients you might consider include citrus zest, cocoa powder, and even coffee grounds. The possibilities are endless, and it’s a great way to experiment with different scents and colors. Plus, using natural ingredients can make your bath bombs feel even more special and indulgent, like a little luxury treat for yourself.
Bath Bomb Bliss: 5 Essential Tips for a Relaxing Soak
- Bomb Basics: Use the right ratio of baking soda to citric acid for the perfect fizz
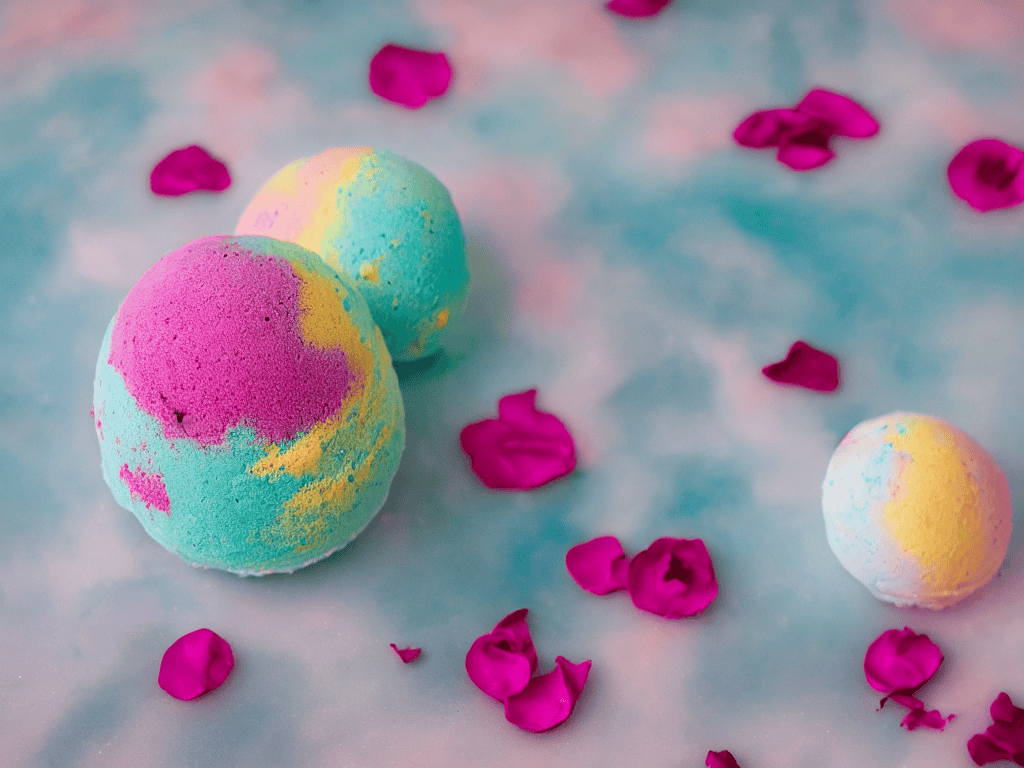
- Color Craze: Experiment with different food coloring combinations to create unique hues
- Fragrance Frenzy: Mix and match essential oils for bespoke scents that promote relaxation
- Mold Mastery: Choose the right mold shape and size to create visually stunning bath bombs
- Moisture Matters: Keep your bath bombs dry and away from humidity to preserve their potency
Key Takeaways for a Relaxing Bath Bomb Experience
With just a few simple ingredients, you can create your own unique DIY bath bombs that rival store-bought products in terms of quality and enjoyment
Experimenting with different natural ingredients and custom fragrances allows you to personalize your bath bombs to suit your mood, skin type, and preferred scents
Making your own DIY bath bombs is not only a fun and creative activity, but it also gives you control over the ingredients, ensuring a healthier and more rejuvenating bathing experience
A Splash of Creativity
As you mix and match colors, scents, and ingredients to create your perfect bath bomb, remember that the real magic happens not in the recipe, but in the ritual – the moment you unwind, relax, and let your worries fizz away.
Lily Green
Wrapping Up Your DIY Bath Bomb Adventure
As we’ve explored the world of DIY bath bombs, you’ve learned how to mix and match natural ingredients to create fizzy fun in your bath time routine. From custom fragrances to colorful recipes, the possibilities are endless, and it’s exciting to think about all the different combinations you can try. Whether you’re looking to relax, rejuvenate, or simply pamper yourself, making your own bath bombs allows you to tailor the experience to your specific needs and preferences. With these simple steps and a little creativity, you can turn your bath time into a spa-like experience that leaves you feeling refreshed and revitalized.
Now that you have the basics down, it’s time to unleash your inner spa guru and get creative with your DIY bath bomb recipes. Remember, the beauty of making your own bath bombs lies in the freedom to experiment and try new things, so don’t be afraid to think outside the box and come up with your own unique fragrance combinations and recipes. With a little practice and patience, you’ll be well on your way to creating bath time bliss that will leave you feeling like you’re indulging in a luxurious spa treatment, right in the comfort of your own home.
Frequently Asked Questions
What are some common mistakes to avoid when making DIY bath bombs?
Don’t overmix, sweetheart – it’s a common mistake that’ll leave your bath bombs as hard as rocks. Also, be gentle when handling them, and avoid using too much water, or they’ll start fizzing before they even hit the tub. Trust me, I’ve been there, and it’s a bummer.
How can I customize the colors and fragrances of my bath bombs to suit my preferences?
To customize your bath bombs, try mixing and matching different food colorings and essential oils. For a relaxing vibe, blend lavender and chamomile, or get fruity with citrusy scents like lemon and grapefruit. Experiment with unique color combos, like swirling purple and blue for a mesmerizing effect. The possibilities are endless, so don’t be afraid to get creative!
Are there any specific safety precautions I should take when handling the ingredients and materials needed to make DIY bath bombs?
When making DIY bath bombs, be sure to wear gloves and work in a well-ventilated area to avoid skin and eye irritation from the citric acid and baking soda. Also, keep the ingredients away from kids and pets to avoid any accidental ingestion.
