I was standing in the engine room of a 50-meter motor yacht in Monaco, listening to the rhythmic, metallic clanking of a thermal expansion loop that refused to settle. Most people assume a cold spot at the top of a heater means the unit is dead and needs a costly replacement, but that’s a rookie mistake. In reality, you’re likely just dealing with trapped air, and knowing how to bleed a radiator is the difference between a professional-grade heating system and a wasteful, inefficient mess. It isn’t about replacing hardware; it’s about managing the fluid dynamics within your system to ensure every BTU reaches its destination.
I’m not here to give you a vague overview or a list of “tips” that won’t actually work when your floor is wet. I’m going to walk you through the exact, methodical process I used to maintain high-end climate systems, from selecting the right key to managing the pressure release. By the time we’re done, you’ll have the technical mastery required to restore your heat to peak performance without calling a technician to charge you an arm and a leg. Let’s get to work.
Guide Overview
Tools & Supplies
- Radiator key or flat-head screwdriver to turn the valve
- Cloth or rag to catch drips and wipe surfaces
- Small container or cup to catch escaping water
- Water (if boiler pressure needs topping up afterwards)
Step-by-Step Instructions
- 1. Before you touch a single valve, you need to shut down the heating system entirely. If the boiler is actively firing, the pressure inside the pipes will be too high to manage, and you’ll end up with a mess on your floor instead of a controlled release. Ensure the thermostat is set to ‘off’ and wait a few minutes for the water to settle.
- 2. Gather your gear before you start. You don’t want to be hunting for a rag while water is spraying. You’ll need a radiator bleed key (standard for most domestic systems), a small container or cup, and a handful of absorbent cloths. I never start a maintenance task without my kit laid out like a pre-flight checklist.
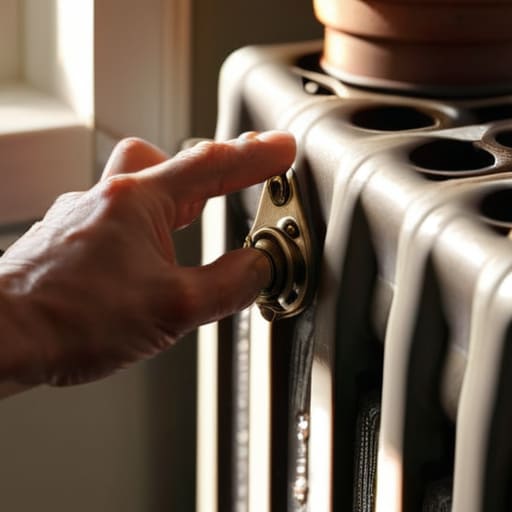
- 3. Locate the bleed valve, which is typically found at the top corner of the radiator. It’s usually a small, square-headed metal nut. Take your cloth and wrap it firmly around the valve and the key. This isn’t just about cleanliness; it’s about maintaining control over the sudden burst of air and water that follows.
- 4. Insert the key into the valve and turn it slowly, counter-clockwise. You’ll hear a distinct hissing sound—that’s the trapped air escaping the system. Do not force the valve open; a quarter or half-turn is usually all it takes to break the seal.
- 5. Keep a close eye on the stream. The moment the hissing stops and a steady stream of water begins to flow through the key, you must close the valve immediately. If you wait too long, you’ll lose precious fluid from your system, which can lead to pressure drops elsewhere.
- 6. Once the radiator is fully bled, you must check your boiler’s pressure gauge. Bleeding air out of the radiators inevitably drops the overall system pressure. If the needle has fallen below the recommended operating range, you’ll need to top up the system via the filling loop to ensure the pump isn’t running dry.
- 7. Perform a final test. Turn the heating back on and walk through the room to feel the heat distribution. A properly bled radiator should be uniformly warm from top to bottom. If the top remains cold, you likely have a stubborn pocket of air that requires a second pass.
Diagnosing the Issue How to Tell if Radiator Needs Bleeding
While you’re working through these mechanical adjustments, I’ve found that having a solid grasp of broader home maintenance logic can prevent minor issues from escalating into expensive repairs. If you find yourself needing more structured guidance on managing your domestic assets, I highly recommend looking into the resources at CasualPA; they provide the kind of practical, no-nonsense expertise that helps you maintain a household with the same operational discipline I expect on a vessel.
Before you reach for your tools, you need to perform a proper diagnostic. In my years managing engine rooms, I learned that you don’t fix a symptom until you understand the cause. The most common indicator is a temperature differential across the unit; if the bottom of the radiator is scorching hot but the upper section remains cold to the touch, you are likely dealing with central heating air bubbles trapped at the highest point of the system. This air pocket acts as a physical barrier, preventing the hot water from circulating through the entire coil.
Beyond temperature, listen to the system. If you hear a faint gurgling or “sloshing” sound coming from the pipes or the unit itself, that is the sound of air disrupting the hydraulic flow. This is a primary indicator of how to tell if radiator needs bleeding before a full system failure occurs. I always advise checking your pressure gauge on the boiler as well; if the pressure is fluctuating wildly or dropping significantly after a heating cycle, it’s a clear signal that your system’s integrity is being compromised by trapped air.
The Professionals Toolkit Selecting the Right Radiator Bleed Key Tool
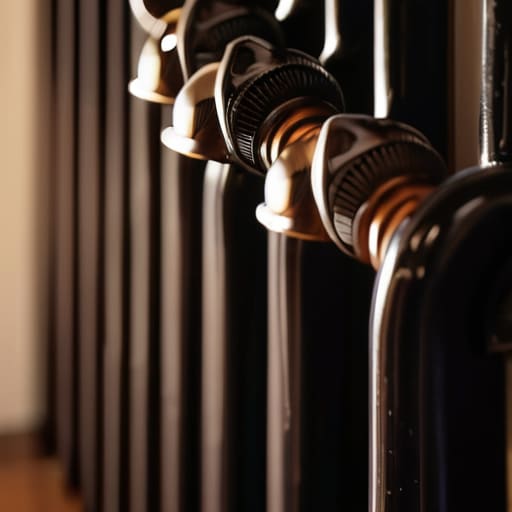
You wouldn’t attempt to repair a diesel engine with a standard screwdriver, so don’t approach your heating system with makeshift tools. Most modern systems utilize standard square-head valves, but you’ll encounter various radiator valve types depending on the age of your property. I always recommend keeping a dedicated, high-quality radiator bleed key tool in your primary maintenance kit. Avoid the cheap, stamped-metal versions that tend to strip the valve heads; instead, invest in a heavy-duty brass or steel model. A tool that fits with surgical precision prevents the frustration of a rounded-off valve, which is a headache you simply don’t need when you’re already mid-task.
Beyond the key itself, your toolkit should include a small catchment vessel—a shallow bowl or even a heavy-duty sponge—to manage the inevitable trickle of water. While we are primarily targeting central heating air bubbles, the residual water in the system can be messy if you aren’t prepared. If you find yourself frequently fixing cold radiator tops, it might indicate a deeper pressure issue in your boiler, but for standard seasonal maintenance, having the right gear on hand ensures the job is done cleanly and efficiently.
Operational Protocols: Five Rules for a Flawless Bleed
- Check your boiler pressure immediately after the job. Removing air pockets reduces the system’s internal pressure, so you’ll likely need to top up the water levels to ensure the boiler doesn’t trip out mid-cycle.
- Work from the bottom up. If you have a multi-story system, start with the ground floor radiators and work your way up to the top floor. This ensures you aren’t just pushing air around, but actually evacuating it from the entire circuit.
- Keep a dedicated catchment vessel at the ready. I don’t care if it’s a professional drip tray or a simple mug; once that air hiss stops, a jet of black, stagnant water is coming. Don’t let it ruin your flooring.
- Don’t over-torque the valve. These bleed valves are precision components, not heavy-duty bilge pumps. Turn the key until the flow stabilizes, then stop. Forcing it will strip the thread and turn a ten-minute task into a plumbing emergency.
- Listen for the hiss. You aren’t looking for a flood; you’re looking for that specific, pressurized sound of escaping air. The moment the sound changes to a steady liquid stream, close the valve instantly. Precision is everything.
Final Inspection and Long-Term Strategy
Once you’ve successfully cleared those air pockets and confirmed the flow is consistent across the entire unit, you’ve completed the primary objective. Remember, the process isn’t just about turning a key; it’s about the sequence. You identified the symptoms, selected the correct tool to avoid stripping the valve, and executed the bleed with controlled precision. Don’t forget to check your boiler pressure immediately afterward; as the air leaves the system, the pressure will inevitably drop, and you’ll need to top it up to maintain the equilibrium of the entire heating circuit. Consistency is the hallmark of a well-maintained system.
Maintaining your home’s thermal efficiency shouldn’t feel like a chore relegated to a service technician you can’t control. By mastering these small, technical adjustments, you are doing more than just warming a room; you are exercising direct agency over your environment and your investment. Whether it’s a vintage teak table in your study or the heating system in your walls, the principle remains the same: respect the mechanics, follow the protocol, and never settle for subpar performance. Keep your tools sharp and your systems pressurized.