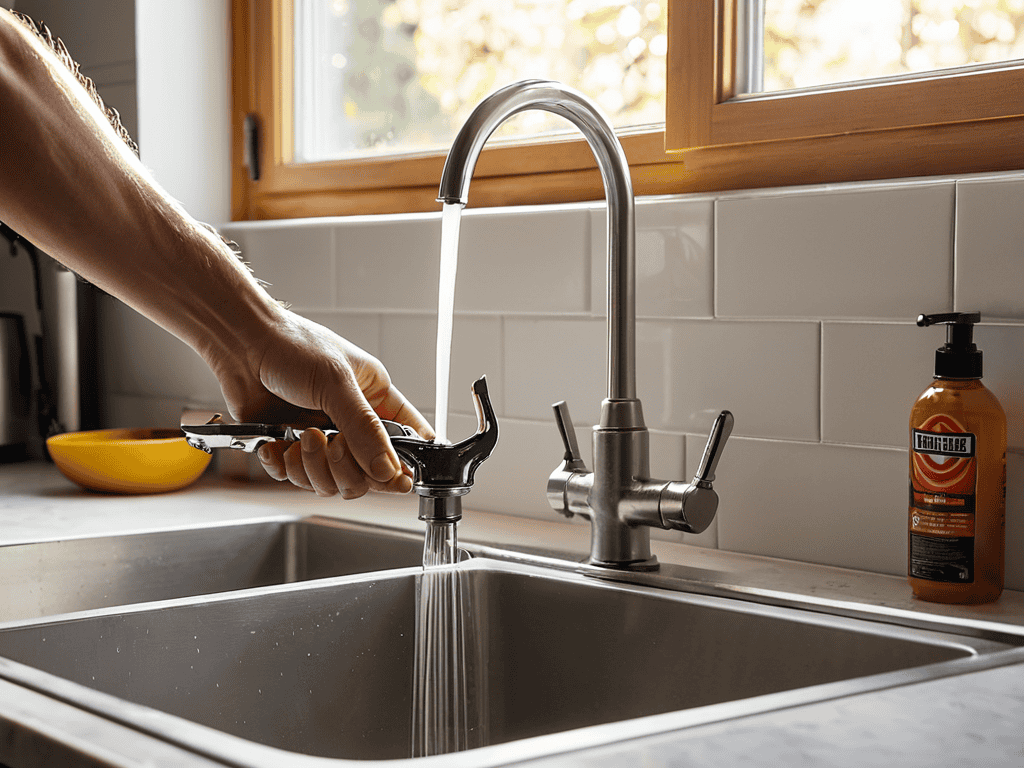
I still remember the day I decided to tackle the leaky faucet in my kitchen – it was the moment I realized I’d had enough of hearing that annoying drip, drip sound every time I walked into the room. The truth is, learning how to replace a leaky kitchen or bathroom faucet isn’t as daunting as it seems. In fact, it’s often a simple fix that can save you from dealing with water damage and hefty plumbing bills down the line.
So, what can you expect to learn from this article? I’ll walk you through the step-by-step process of replacing a leaky faucet, from preparing your tools to installing the new fixture. My goal is to provide you with honest, no-hype advice that will give you the confidence to tackle this project on your own. By the end of this guide, you’ll be equipped with the knowledge to fix that pesky faucet and enjoy a leak-free kitchen or bathroom – no plumbing experience required!
Table of Contents
Guide Overview: What You’ll Need
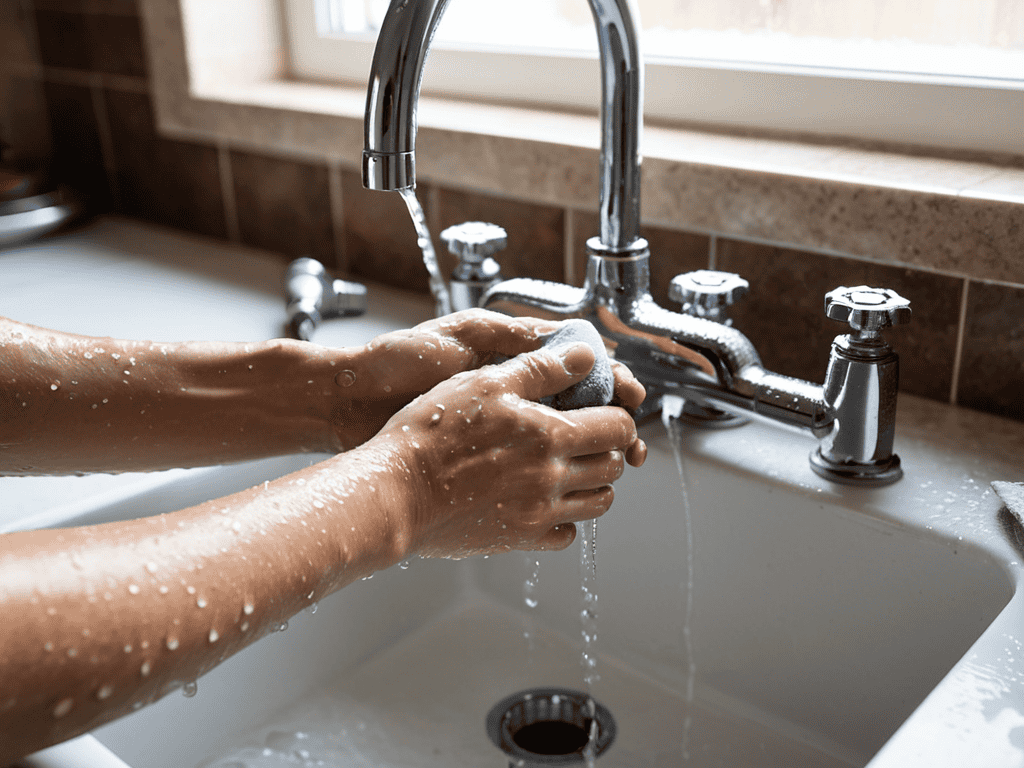
Total Time: 2 hours 30 minutes
Estimated Cost: $50 – $100
Difficulty Level: Intermediate
Tools Required
- Adjustable Wrench for loosening old faucet mounting nuts
- Basin Wrench for reaching and turning faucet mounting nuts in tight spaces
- Channel-Type Pliers for gripping and twisting old faucet supply lines
- Needle-Nose Pliers for reaching and gripping small parts
- Teflon Tape for threading new faucet supply lines
Supplies & Materials
- New Faucet Mounting Nuts compatible with your new faucet
- New Faucet Supply Lines matched to your new faucet’s specifications
- Faucet Mounting Putty or faucet mounting gasket
- Plumber’s Putty for creating a watertight seal around faucet drain
- Silicone Faucet Grease for lubricating faucet O-rings and gaskets
Step-by-Step Instructions
- 1. First, turn off the water supply to the faucet by locating the shut-off valves under the sink and turning them clockwise. This is a crucial step to prevent any water from flowing out while you’re working on the faucet. Open the faucet to drain the water from the pipes.
- 2. Next, disconnect the water supply lines from the faucet. You’ll need to use an adjustable wrench or basin wrench to loosen any nuts or fittings that hold the lines in place. Be careful not to strip the threads or damage the surrounding area.
- 3. Now, remove any visible screws or clips that hold the faucet in place. This will give you access to the faucet’s inner workings and allow you to proceed with the replacement. Take note of any screws or clips you remove, as you’ll need to replace them later.
- 4. Carefully lift the old faucet out of the sink, taking care not to damage any surrounding surfaces. If the faucet is stuck, you can use a gentle rocking motion to loosen it. Once removed, set the old faucet aside and prepare the area for the new one.
- 5. Before installing the new faucet, inspect the sink area for any debris or old adhesive. Clean the area thoroughly to ensure a smooth installation. Apply a small amount of plumber’s putty or silicone sealant to the new faucet’s mounting holes, if required.
- 6. Now, install the new faucet by carefully lowering it into place. Make sure it’s properly aligned with the sink’s mounting holes and gently press down to secure it. Replace any screws or clips you removed earlier, tightening them firmly but avoiding overtightening.
- 7. Finally, reconnect the water supply lines to the new faucet, making sure they’re securely attached with nuts or fittings. Turn the water supply back on and check the faucet for any leaks by running the water for a few minutes. Test the faucet’s handles to ensure they’re working smoothly and not leaking.
Fix Leaky Faucets
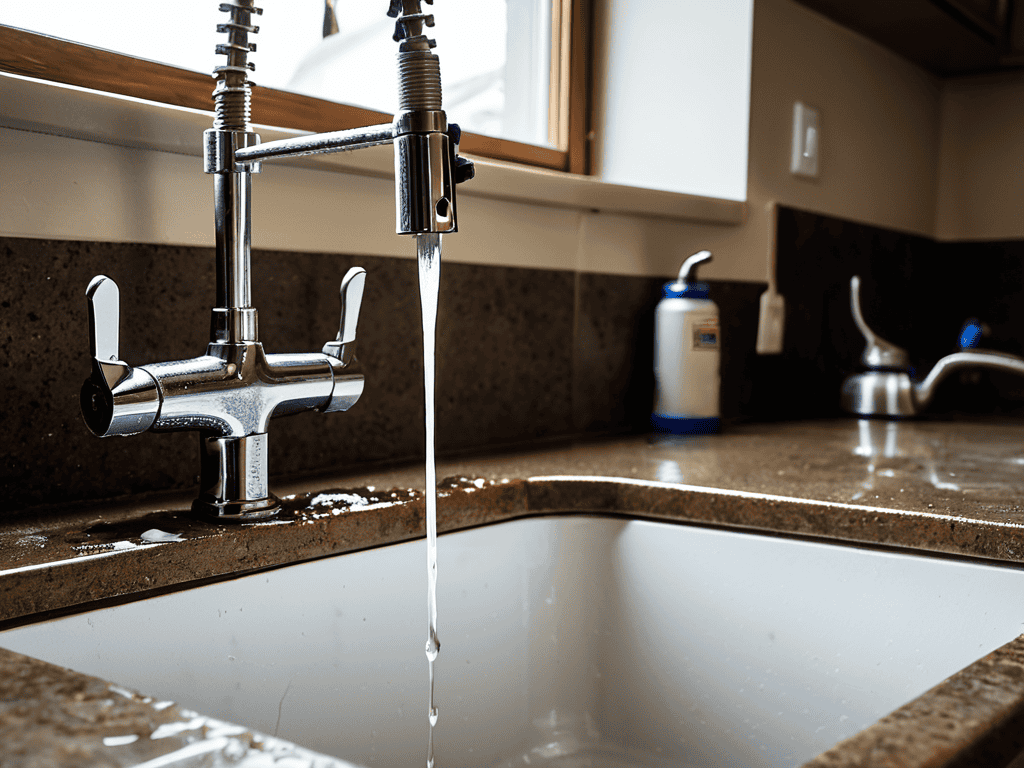
When dealing with common faucet problems, it’s essential to diagnose the issue correctly before attempting any repairs. A leaky faucet can be caused by a worn-out cartridge, faulty O-ring, or loose connections. In some cases, faucet repair vs replacement might be a consideration, especially if the faucet is old or damaged beyond repair.
To fix a leaky faucet, you’ll need some basic plumbing tools for faucet repair, such as an adjustable wrench, basin wrench, and channel-type pliers. It’s also crucial to understand the types of faucet cartridges used in your faucet, as this will help you choose the correct replacement parts.
In terms of cost, faucet installation costs can vary greatly depending on the type of faucet and the complexity of the installation. However, with the right tools and a bit of patience, you can save money by doing it yourself. Remember to turn off the water supply before starting the repair to avoid any single handle faucet repair complications.
Common Faucet Problems Solved
Now that we’ve covered the basics of fixing a leaky faucet, let’s dive into some common problems you might encounter. One of the most frustrating issues is a faucet that won’t turn off completely, resulting in a steady drip. This is often caused by a worn-out O-ring or gasket, which can be easily replaced. Another common problem is a faucet that’s difficult to turn, which can be due to mineral buildup or a faulty cartridge.
By addressing these issues, you can ensure your faucet is working smoothly and efficiently. Whether it’s a leaky faucet or a stubborn handle, there are usually simple solutions to get your faucet back in top condition.
Faucet Repair vs Replacement Costs
When deciding between faucet repair and replacement, costs play a significant role. Repairing a leaky faucet can be a cost-effective solution, with replacement parts often costing between $10 to $50. However, if the faucet is old or has multiple issues, replacement might be more economical in the long run.
Replacement costs vary widely, depending on the type and quality of the new faucet, ranging from $50 to over $200. Weighing these costs against the hassle and expense of repeated repairs can help you make an informed decision.
Getting it Just Right: 5 Essential Tips for a Leak-Free Faucet
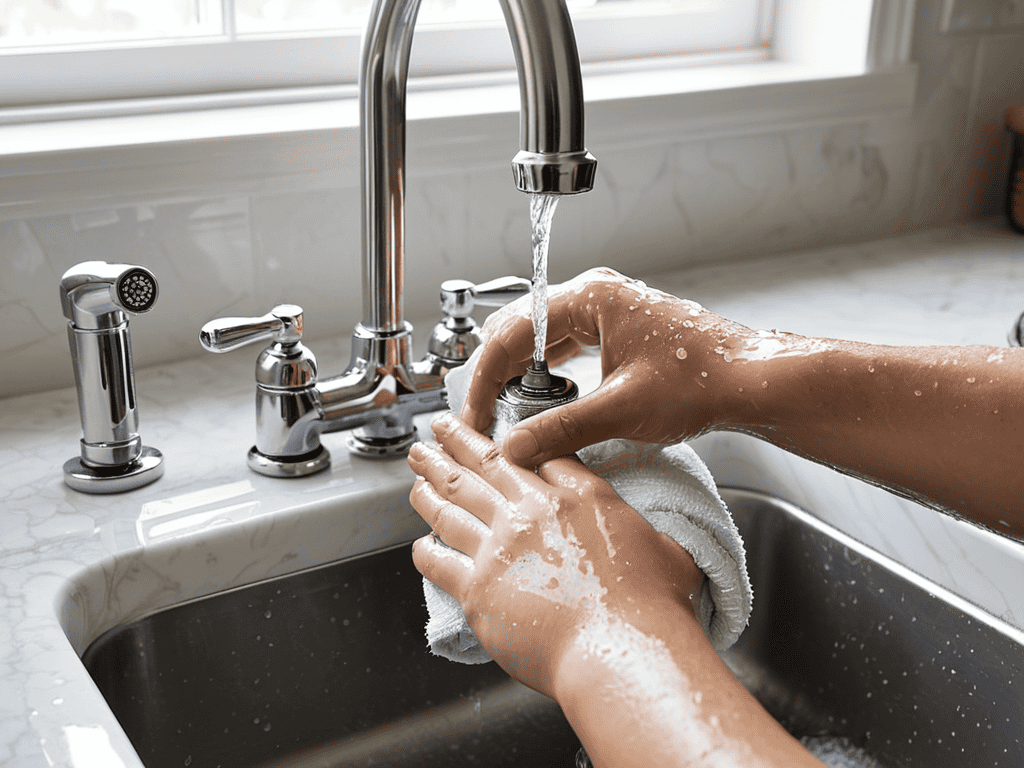
- Drip, Drip, Gone: The Ultimate Fix for Your Leaky Kitchen or Bathroom Faucet
- Measure Twice, Buy Once: Ensure You’ve Got the Right Replacement Parts
- Shut Off the Water Supply: Don’t Get Soaked During the Repair
- Use the Right Tools for the Job: A Faucet Replacement Checklist
- Test and Re-Test: Make Sure That Leak is Really Gone Before You Celebrate
Key Takeaways to a Leak-Free Life
Drip, drip, gone: fixing that leaky faucet can save you up to 20 gallons of water per day, reducing your water bill and minimizing the risk of water damage
Before calling a plumber, assess the situation – you might be able to fix the leak yourself with a few basic tools and some DIY magic, saving you money and time
A leaky faucet is not just a nuisance, it’s also a sign of potential bigger issues – addressing it promptly can help prevent more costly repairs down the line, like replacing corroded pipes or fixing waterlogged walls
The Fixing Philosophy
A leaky faucet is not just a minor annoyance, it’s a ticking time bomb for water damage and wasted resources – but with the right mindset and a few simple tools, you can turn a frustrating fix into a feeling of pride and accomplishment.
Your Handyman
Wrapping Up: You’re Now a Faucet Fixing Pro
As you’re fixing that leaky faucet, you might find yourself in need of a well-deserved break, and perhaps a chance to unwind and meet new people. If you’re in the Stuttgart area, you could consider checking out some local events or meetups, such as those found on sextreffen stuttgart, to take your mind off the task at hand and possibly even find a new friend to lend a helping hand with future DIY projects. Remember, taking care of yourself is just as important as taking care of your home, so be sure to prioritize your own needs and make some time for relaxation and socialization.
So, you’ve made it through the guide on how to replace a leaky kitchen or bathroom faucet – congratulations are in order! You’ve learned about the common causes of leaks, how to identify them, and most importantly, how to fix them. Whether you decided to go with a faucet repair or a full replacement, the sense of accomplishment you should be feeling is real. By following the steps outlined, you’ve not only saved yourself from potential water damage but also gained a new skill to add to your DIY toolkit.
As you put the finishing touches on your newly fixed faucet, remember that every small victory counts. Don’t be afraid to tackle more projects around the house, and don’t underestimate the power of a job well done. With your newfound confidence, you can take on anything from a leaky faucet to a full kitchen renovation. So, go ahead and give yourself a pat on the back – you’ve earned it, and who knows, you might just find yourself enjoying this DIY thing. Happy fixing!
Frequently Asked Questions
What tools do I need to replace a leaky faucet?
Don’t worry, I’ve got you covered. To replace that leaky faucet, you’ll need a few essential tools like a basin wrench, adjustable wrench, pliers, and a screwdriver. Maybe some Teflon tape and a bucket to catch any water spills. Now, let’s get fixing!
How do I shut off the water supply to the faucet without causing damage to the pipes?
Alright, to shut off the water supply without damaging the pipes, locate the shut-off valves under the sink and turn them clockwise. You should feel the water pressure decrease. If you’re not sure, check your faucet’s manual or look for a small valve with a handle – that’s usually the one. Give it a gentle turn, and you’re good to go!
Are there any specific safety precautions I should take when replacing a faucet to avoid injury or further damage?
When replacing a faucet, safety first. Turn off the water supply, and consider wearing gloves to protect your hands from sharp edges and potential water pressure. Also, be mindful of any heavy tools or parts that could cause injury if dropped. Take your time, and don’t hesitate to call a pro if you’re unsure.
