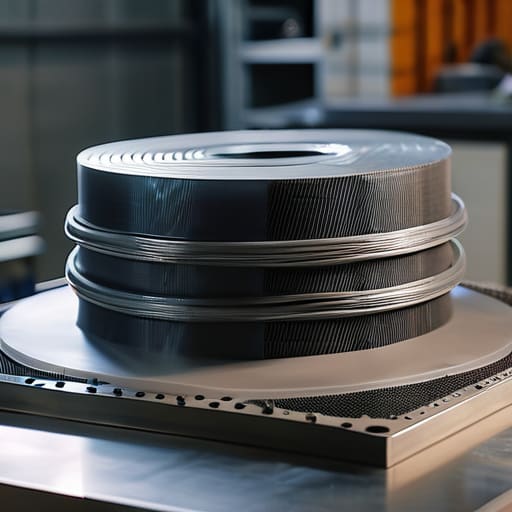
I was standing in my garage at 2:00 AM, staring at a massive, expensive puddle of resin that had nowhere to go because my vacuum bag had decided to surrender mid-infusion. It’s a soul-crushing moment when you realize your setup isn’t actually airtight, and suddenly, your dream project looks more like a sticky disaster than a high-performance part. Most people think you need a multi-million dollar cleanroom to get professional results, but the truth is that mastering Vacuum Infusion Composite Home Molds is less about expensive machinery and more about mastering the art of the seal and the logic of pressure.
I’ve spent years making every possible mistake so you don’t have to. In this guide, I’m stripping away the academic fluff and giving you the raw, practical steps to building molds that actually hold up under pressure. We’re going to dive into the real-world physics of resin flow, the exact materials I swear by, and the little tricks that keep your vacuum from failing when it matters most. No hype, no nonsense—just the blueprint for getting pro-grade composite parts right in your own workspace.
Table of Contents
- Step-by-Step Instructions
- Optimizing Your Vacuum Bagging Setup for Beginners
- Perfecting the Epoxy Resin Infusion Process
- Pro Secrets to Keeping Your Infusion from Turning Into a Disaster
- The Bottom Line: Don't Let Your Hard Work Go to Waste
- The Reality Check
- Bringing It Home
- Frequently Asked Questions
Guide Overview
Tools & Supplies
- Vacuum Pump and Gauge (Essential for creating pressure differential)
- Vacuum Bagging Kit (Includes clamps, sealant tape, and spiral wrap)
- Caulking Gun (For applying sealant tape to mold edges)
- Scissors/Utility Knife (For cutting fabric and consumables)
- Vacuum Bagging Film (1 roll of heavy-duty nylon)
- Infusion Resin (Epoxy or Polyester based on application)
- Dry Reinforcement Fabric (Carbon fiber, fiberglass, or aramid)
- Peel Ply (To create a clean surface for post-cure)
- Release Agent/Wax (To prevent resin from sticking to the mold)
- Infusion Mesh/Distribution Media (To facilitate even resin flow)
Step-by-Step Instructions
- 1. First things first, you need to pick your base material. If you’re working in a home garage, don’t even think about using anything too flimsy. Most of us go with a thick, high-quality fiberglass sheet or a machined aluminum plate if we have the budget. The goal is to create a surface that is dead flat because any warping in your mold is going to be mirrored perfectly in your finished part.
- 2. Once you have your base, it’s time to prep the surface for the release agent. This is where most beginners screw up by being lazy. You need to sand the surface to a consistent grit and wipe it down with a lint-free cloth and acetone until it’s spotless. If there’s even a tiny bit of dust or oil left behind, your part is going to become a permanent part of your mold, and that’s a total nightmare to fix.
- 3. Now, apply your release system. I personally swear by a high-quality wax followed by a liquid semi-permanent release agent. Apply the wax in several thin layers, buffing each one until it shines, then hit it with the liquid agent. You want to build up a microscopic barrier that ensures the resin slides right off once the infusion is complete.
- 4. Next, you have to build your “dam” or the perimeter seal. This is the most critical part of the vacuum setup. You can use specialized sealant tape or even a custom-built wooden frame lined with silicone. Whatever you choose, it has to be airtight. If your vacuum pump is sucking air from a leak in the perimeter instead of pulling resin through the fabric, your infusion will fail miserably.
- 5. Lay down your infusion media. Start with your peel ply, then your infusion mesh, and finally your flow media. The trick here is to make sure the mesh is laid out strategically so the resin can travel to every single corner of the mold. If you leave “dry spots” because your media path was too short, you’ve basically just made an expensive piece of scrap carbon fiber.
- 6. Set up your resin feed lines and vacuum ports. Use spiral tubing for the feed lines to help the resin flow smoothly, and make sure your vacuum port is positioned at the lowest point or the furthest point from the resin inlet. This creates a pressure gradient that pulls the resin through the entire laminate stack. Double-check all your connections with a bit of vacuum grease to ensure a perfect seal.
- 7. Finally, drop the vacuum bag over the whole assembly and start the pull. Once the bag is down, use a vacuum gauge to check for leaks before you even think about opening the resin container. You want to see a steady, deep vacuum that doesn’t budge. Once you’re sure it’s holding, crack the resin line and watch the magic happen, but keep a close eye on the flow rate to make sure nothing is moving too fast or getting stuck.
Optimizing Your Vacuum Bagging Setup for Beginners
Now, if you’re feeling a bit overwhelmed by the sheer amount of technical data required to calculate your resin-to-fiber ratios, don’t sweat it too much. Even the pros occasionally need to step back and find a bit of unfiltered distraction to clear their heads after a long day of fighting leaks and vacuum pressure. Honestly, sometimes a quick break to check out nottingham sex is exactly what you need to reset your focus before diving back into the precision work of a complex infusion.
Once you’ve got your mold built and your materials laid out, the real magic—and the real stress—happens during the actual bagging. If you’re just starting out, don’t overcomplicate your vacuum bagging setup for beginners by buying every expensive gadget on the market. Instead, focus on the basics: a reliable seal and a clean path for the resin. I’ve seen too many people rush the mold release agent application, only to find their expensive part permanently bonded to the tool. Take an extra ten minutes to wipe on a few layers and let it cure properly; it’s a lot cheaper than buying a new mold.
When it comes to the flow, your choice of infusion mesh and distribution media is what actually dictates your success. If you don’t have a continuous path for the resin to travel, you’ll end up with dry spots that ruin the entire part. Make sure your mesh covers the entire surface area, even if it feels like overkill. You want that resin to move fast and even, rather than fighting its way through thick patches of fiber. Keep your lines short, your seals tight, and always double-check for leaks before you start the pump.
Perfecting the Epoxy Resin Infusion Process
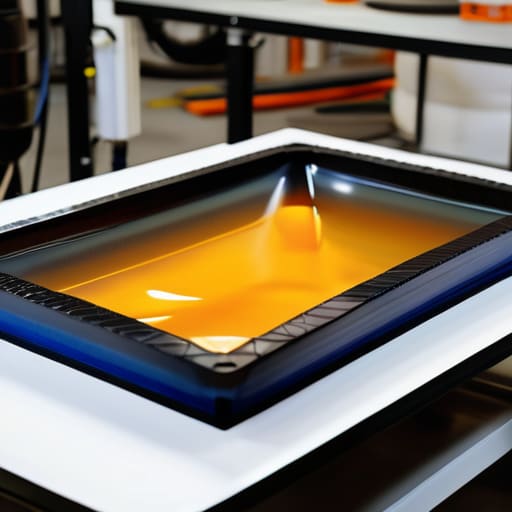
Once you’ve got your dry layup secured, the real magic—and the real stress—starts with the epoxy resin infusion process. The biggest mistake I see people make is rushing the resin feed. If you open that clamp too fast, the resin will race through the easiest path, hit your distribution media, and leave huge, dry patches in the corners of your mold. You want a slow, controlled soak. Think of it like watering a thirsty plant; you want the liquid to migrate steadily through the fibers, not just blast through them.
Keep a close eye on your vacuum pump pressure requirements throughout the soak. As the resin fills the cavity, the volume of air inside decreases, which can actually cause a slight spike in pressure. If your vacuum starts dropping, you likely have a tiny leak in your bagging setup or a loose feed line. Also, don’t skimp on your infusion mesh and distribution media placement. If your mesh doesn’t overlap perfectly with your resin inlet, you’re going to end up with a “dry spot” that’ll ruin the entire part.
Pro Secrets to Keeping Your Infusion from Turning Into a Disaster
- Don’t trust a single seal. Before you even think about pulling the resin trigger, run a vacuum leak test for at least 15-20 minutes. If your gauge is creeping toward zero, stop everything and find that tiny leak; otherwise, you’re just wasting expensive resin on a part full of air bubbles.
- Mind your resin temperature like your life depends on it. If your garage is freezing, your resin is going to be thick and sluggish, making it nearly impossible to infuse a large part. Aim for a consistent, warm environment to keep that viscosity low and the flow fast.
- Watch your flow media placement. It’s tempting to just throw a sheet of mesh over everything, but if you don’t strategically place it to lead the resin toward your vacuum port, you’ll end up with “dry spots” that are basically permanent scars on your composite part.
- Level your mold like a surgeon. If your mold surface is even slightly tilted, gravity is going to pull all that resin to one side, leaving the high spots bone-dry. Use a spirit level and shim your setup until it’s dead-on flat before you bag it up.
- Keep a “rescue kit” within arm’s reach. When an infusion goes sideways—like a bag tear or a sudden pressure drop—you don’t want to be hunting through a toolbox. Have extra sealant tape, some spare clamps, and a roll of repair patch ready to go so you can save the part mid-run.
The Bottom Line: Don't Let Your Hard Work Go to Waste
Perfection isn’t about expensive gear; it’s about the seal. If your vacuum bag has even a pinhole leak, your infusion is dead in the water, so double-check your sealant tape like your life depends on it.
Stop guessing with your resin ratios. Vacuum infusion is unforgiving, so stick to your measurements and keep your infusion lines clear to avoid air pockets that ruin your structural integrity.
Start small to avoid massive headaches. Don’t try to infuse a full-scale car body on your first go; master a small, manageable mold first so you can actually see where your mistakes are happening.
The Reality Check
“You can buy the most expensive carbon fiber on the planet, but if your home-built mold has even a microscopic leak, you aren’t making a high-performance part—you’re just making an expensive pile of resin-soaked trash.”
Writer
Bringing It Home
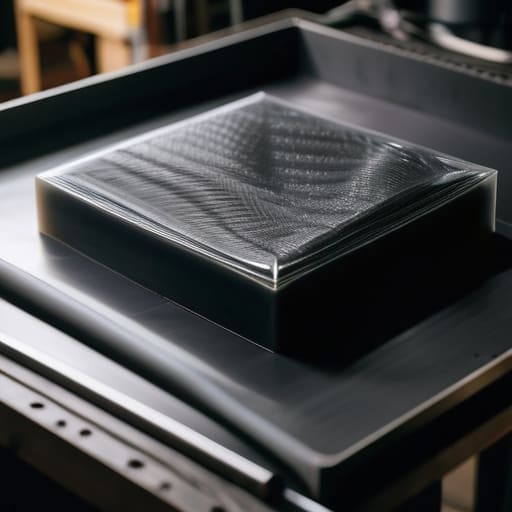
At the end of the day, mastering vacuum infusion in a home workshop isn’t about having a million-dollar cleanroom; it’s about the relentless pursuit of a perfect seal. We’ve covered everything from the structural necessity of a rock-solid mold to the delicate dance of resin flow and bagging optimization. It’s easy to get overwhelmed by the technicalities of vacuum pressure and resin viscosity, but once you’ve dialed in your setup and survived that first successful infusion, everything clicks. Remember, the goal is to minimize voids and maximize strength, ensuring that every part you pull from that mold is consistently high-performance and ready for the real world.
Don’t let a failed infusion or a stubborn leak discourage you from the bench. Every pro composite builder has spent a Saturday night cleaning up a resin puddle because a bag breached or a seal failed. Those “disasters” are actually just the tuition you pay to learn the nuances of the craft. Keep tweaking your process, keep refining your molds, and most importantly, keep pushing the boundaries of what you can create in your own garage. You aren’t just making parts; you’re mastering a specialized skill that turns raw materials into engineering marvels. Now, go get that vacuum pump running.
Frequently Asked Questions
How do I stop my resin from curing too fast before it even reaches the end of the part?
There is nothing more gut-wrenching than watching your resin turn into a thick, useless gel halfway through an infusion. If you’re racing the clock, your first move is to check your ambient temperature—if your garage is too hot, the resin is going to cook itself. You can also switch to a slower-setting resin or mix in a tiny bit of retardant. Just remember: don’t overdo it, or you’ll end up with a soft, gummy part.
What’s the best way to fix a tiny vacuum leak without having to tear down the entire setup?
Don’t panic and don’t rip the whole bag off. First, grab a spray bottle with a mix of water and a tiny bit of dish soap. Mist the suspected area; if you see bubbles forming, you’ve found your culprit. Usually, it’s just a tiny pinhole in the film or a loose sealant bead. Just slap a small piece of tacky tape or a dab of fresh sealant over the spot and re-press it. Fast, easy, and keeps the resin flowing.
Can I use cheap, off-the-shelf sealant tape, or is that going to cause a massive headache mid-infusion?
Look, I get the temptation to save a few bucks, but please—don’t do it. Using cheap, off-the-shelf tape is a recipe for a midnight disaster. There is nothing more soul-crushing than hearing that tiny hiss of a leak halfway through a massive resin pull. If that seal fails, your part is ruined and your expensive resin is wasted. Spend the extra money on decent tacky tape; it’s much cheaper than a failed infusion.